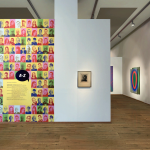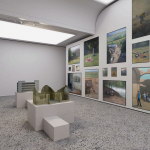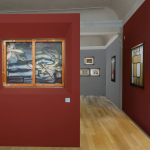
Available on the Online Viewing Room
If you’re already familiar with how you can visit online exhibitions in a 3D model made by Walter’s Cube, and you want to take the next step towards becoming the curator of your online exhibitions in the digital twin of your own physical gallery (or you want to choose one of our premade spaces), here are the basics about how to use the technology. If you are not familiar with visiting online exhibitions yet, start with this list, and if you haven’t heard some of the terms mentioned above, check out our glossary for the hybrid art world.
Everyone in the art world knows how stressful it is to install an exhibition. The shipments can be late, while the artists and the gallerists constantly worry about the artworks getting damaged, then there is always a malfunctioning tool that delays the process. Moving large objects is tiring, storing them is almost impossible, and if curators change their minds about placement, nails have to be removed and walls have to be repainted.
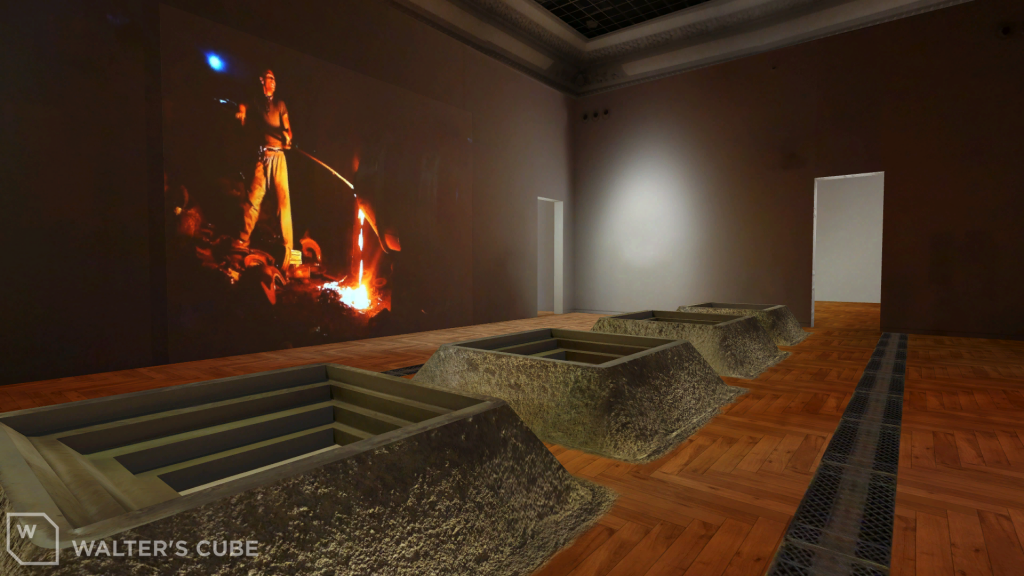
Now imagine installing without all the fuss. An online exhibition can be ready in minutes, no shipping costs, no frantic search for a carpenter who will get the frames ready in time, no sleepless nights, no extra work hours. The virtual world is not only for the tech-savvy anymore: to plan or create an exhibition in 3D, you don’t have to download or master any software, just click on the link we send you in an email. It’s that easy.
After you’re done with the practical part of joining the Editors of Walter’s Cube (you got your subscription, our photographer visited your physical gallery to have it digitized or you chose the premade space you want to use in the future), click on the link you got from us in an email on your computer whether it be a desktop or a laptop. While the Online Viewing Room is available from smartphones and tablets too through the Walter’s Cube app, the Editor only works on computers. That link is going to take you to the platform where you can modify your exhibition.
How to give exhibition information
With the ‘Add exhibition info’ button on the upper tab you can set the parameters: the title of the exhibition, the name of the curator, the start and end date of the exhibition, a short and a long description. On the left side of your screen you find the option to take a photo with the built-in camera, that’s going to give you the icon image visitors will see before entering the online exhibition. You can change the camera’s angle with the ← ↑ ↓ → or W A S D buttons. We recommend you do that only after placing the artworks.
How to add artworks
Pictures
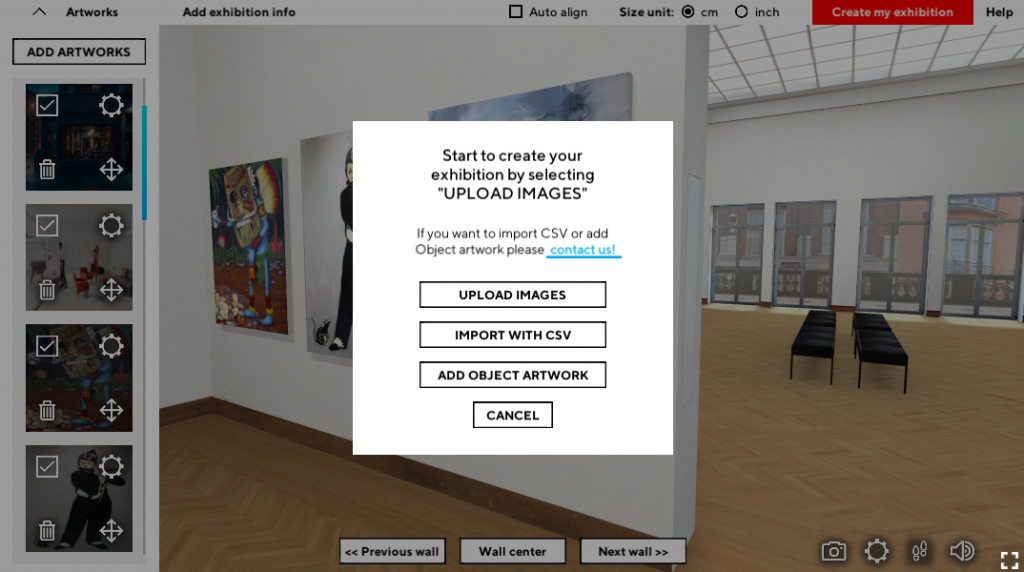
You can upload pictures (JPGs or PNGs) from your desktop or laptop with a few clicks. Click on the ‘Artworks’ tool on the sidebar, then on the ‘Add artworks’ button. Select ‘Upload images’ and choose the ones from your archive you want.
Objects
You can add objects too (sculptures, reliefs, etc), by clicking on the ‘Add object artwork’ button. These are modeled by our architectural team in 3D if you put in a request, so their upload works a little bit differently as they are not on your computer but in our database. We are going to provide you with the files, including the pre-written artwork information, so all you have to do is place the object.
How to give artwork information
There are two ways to give artwork information to your pictures (with the objects, it will be set for you in advance and you don’t have to do anything). Choose whichever way you like better.
Manually
If you choose to give artwork information manually, click on the ‘Artwork’ tool you just used to upload the pictures, then on the gear wheel on the right corner of the icon. In the pop-up window you can fill out the lines with the artwork’s title, the artist’s name, the technique used, the year it was made (‘from to’ if you wish), the price and the currency you deal in. You can also add a description of the artwork – it can be one word, like ‘Unique’, or longer if you want to tell a story about it for example to get the collectors interested.
You can change this later on if there’s a need by clicking on the gear wheel.
With CSV
You can also add artwork information using a CSV file (short for comma-separated values, which is a delimited text file that uses a comma to separate values), as it can be a short-cut if you have a lot of artworks to display and it would take too long to manually add the information. The easiest way to create a CSV is to open Excel and put your information into separate cells – you can download the template from here.

There are three things you need to pay attention to when using Excel. One, don’t put commas in the title of the artwork as Excel generates a CSV file which means after exporting it will recognize any cell with a comma in it as two separate parameters, creating an error. Two, be mindful of lowercase and uppercase letters in the image file name – they count when the system searches for the JPGs or PNGs. Three, check the size unit to see whether you’re in cms or inches.
When you have your chart with all the information, click ‘Save as’ in Excel, name the file, choose the format ‘CSV (Comma delimited)’, then save. Now you can go back to your exhibition, click ‘Import with CSV’ in the ‘Upload images’ tool, select the pictures the software asks for, and you’re done.

How to install an artwork
Like with adding artwork information, you can choose between a manual and an automated way.
Manually
Open the ‘Artworks’ tool where you have your files uploaded, then drag and drop the image on the wall wherever you like. If an image is already on the wall, its icon image in the collection will fade.
Auto Align
If you’re looking for a perfectly symmetrical installation, choose auto align. On the bottom right corner of the image, you find a padlock icon – when that’s on, the software will arrange the images to be in an even distance from each other.
The same goes to objects too, you can place them by using the arrows or dragging them with your mouse.
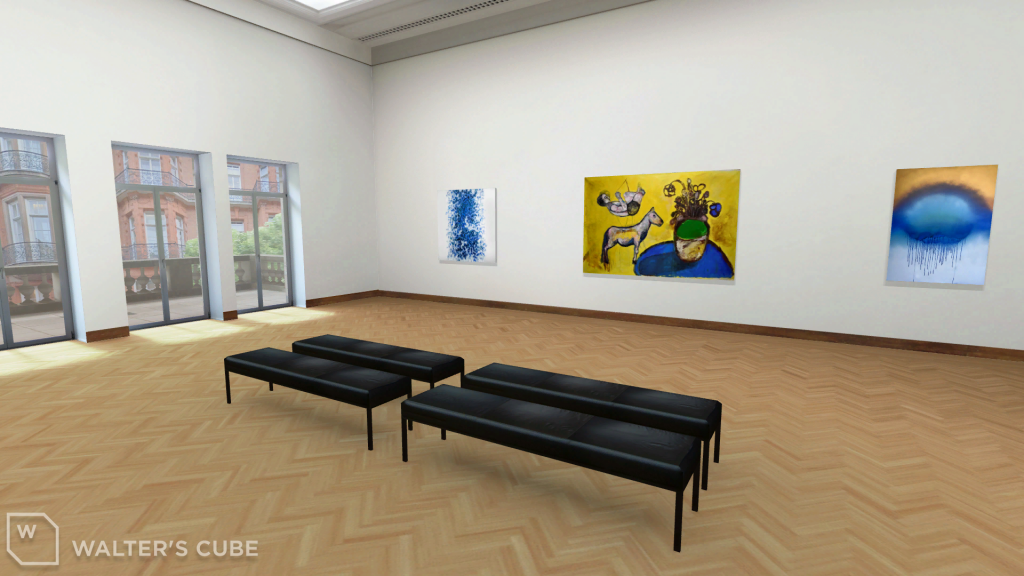
How to uninstall an artwork
If you change your mind, you can take the image off the wall by unchecking the box in the upper left corner. If you’re unsure about needing that image, leave it at that, but if you’re certain you won’t use said image in your online exhibition, you can delete it by clicking on the trash icon and the image will disappear from your uploads. Same with objects.
How to frame an artwork
You can add a digital frame to your images by opening the ‘Artwork’ tool, clicking on the gear wheel which is the ‘Image setting’ button, then choosing framed canvas. On the right side of your screen you can choose between frame textures, frame colors, and matboard colors. You can also alter the depth and the width of the frame and the matboard that will be visible in 3D, creating the experience of space as the image won’t be completely flat anymore.
How to publish your exhibition
After you’re certain everything is at the right place and every information is correct, click on ‘Create my exhibition’ in the upper right corner. Fill out the information with your name and email address, accept terms and conditions, choose between publishing publicly (everybody will see it), as unlisted (only those who have to link will see it), or saving as a draft (if you’re not finished and want to come back later to continue your work). Then there’s an upload process that might take a minute or two depending on the size of your online exhibition, please do not close your browser until it’s done. When it is, you’ll get a notification to check your email inbox – the link to your exhibition will be there in the ‘Enter your Room’ button. Under that, you’ll find an URL you can use to modify the exhibition later on.
How to share your exhibition
When you click on that URL, you’ll be taken to the Online Viewing Room, and under the 3D model you’ll find the icons of the most popular social media sites. Choose the icon that suits you to share, or click on the </> option to get a code you can copy into a html box on your website to have it embedded. This way, your visitors won’t have to leave your website to see your online exhibition.
How to have a guided tour
You have the option to include in your online exhibition a guided tour which is basically a video.
To create one, you have to open the Walter’s Cube app on your phone or on your tablet and sign in with the email address you have given us when you ordered your digital twin. You can only access this option through that address, so please, make sure you’re signing in with the right one. Upon clicking ‘Visit Exhibition’, you should see a little camera icon on the upper tab – if you can’t find it, you probably have an older version of the app and you need to download the update from Google Play or App Store, depending on whether you use an Android or an iOS system.
Click on the camera icon, then on the microphone icon to have audio, then on the white record button. Once the recording started, you can talk like you’re talking to your audience, and walk around in the digital twin as you would in the physical gallery.
When you are done, click on the stop recording button. You can check your guided tour by clicking on the play button, and if you’re satisfied with the camera movement, your speech, and the quality of the audio file, click on the arrow pointing upwards. That will upload your guided tour and make it available to everyone. If you are not satisfied, delete the file by clicking on the trash icon and start over.
If you need more visual help to create your own online exhibition, check out this other list. If you need personal help, contact our team at hello@onlineviewingroom.com.


